Contribute Signage

Adding and Managing Users
Contribute Signage allows an Administrator (the person who signed up for the account) to create sub-users with different roles. All aspects of the signage can be controlled at user level.
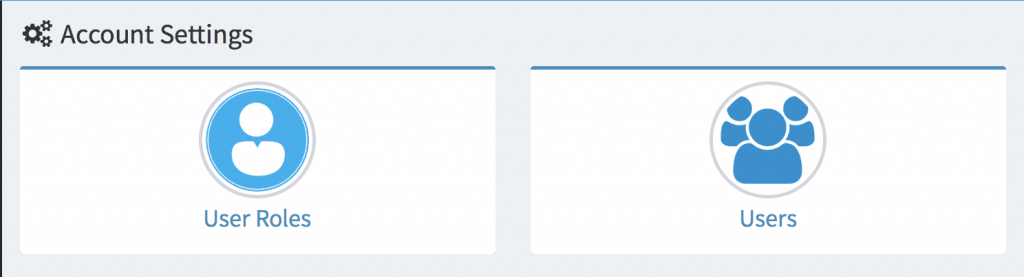
First, head over to Account Settings from the left hand menu.

Then, we are going to establish a new Role for the user. Click on the User Roles option.
You will see the blank user roles page.

Click on “Add New Role” – you will then need to give your role a name and choose what the users assigned to this particular role can do in the software.
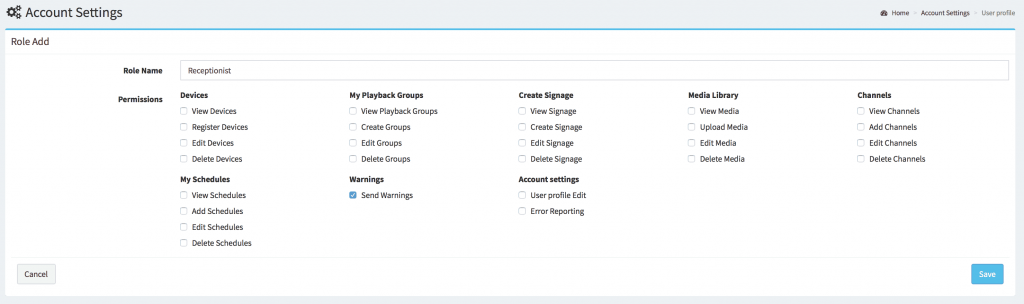
In our example here, the receptionist is only able to Send Warnings (Crisis Management) from the software, nothing else. Click save to add the Role.
Back in Account Settings, we need to choose the “Users” option.

There are currently no users on the system. We are going to create Jon the receptionist.

Fill in the table below and select Jon’s role from the drop down menu.
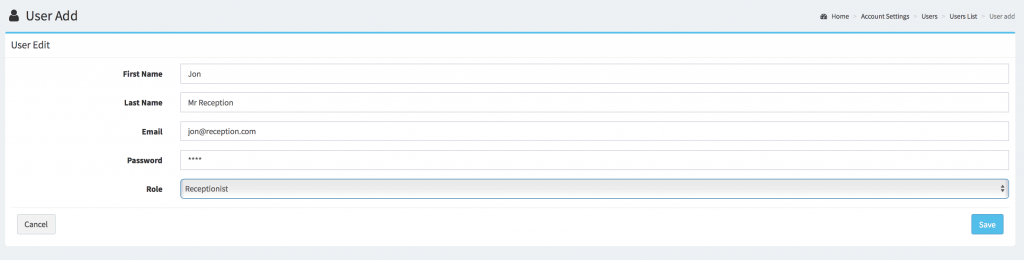
Click save to finalise the user. Once saved, you are able to edit and delete the users with these options from the table.

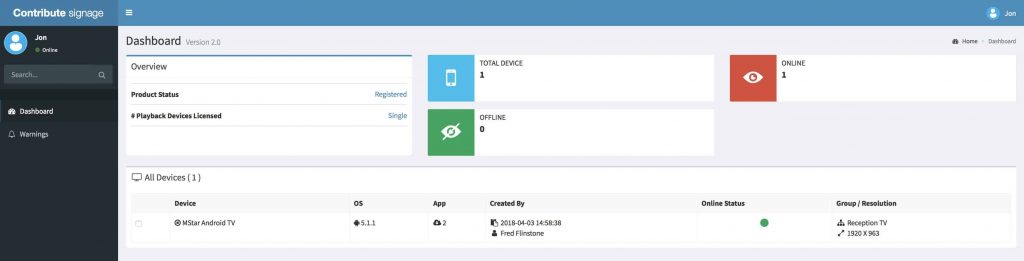
Click save to finalise the user. Now, we’re going to log out and lot back in as Jon. When we login, we will see the the Dashboard is different and in the menu options, only the Crisis Management (Warnings) is available.
User level control allows Admin’s to control exactly what each and every user has access to.