Contribute Cloud

Creating a New Workbook
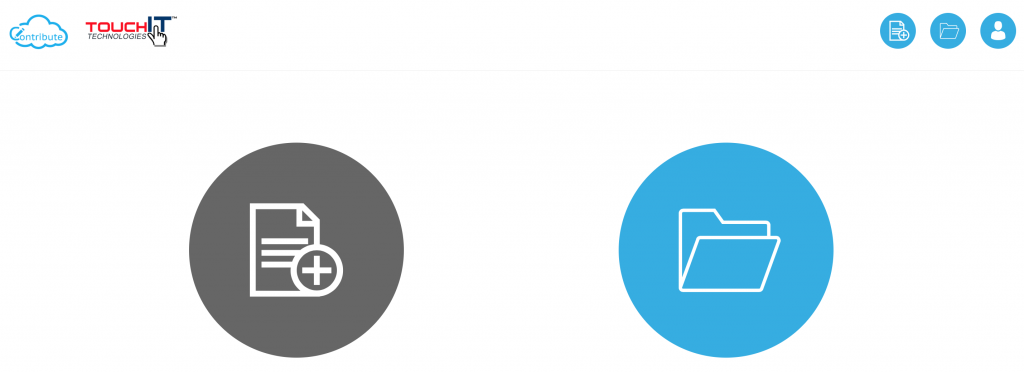
When you first login, you are presented with two options. The first, is to create a new workbook, the second, is to open an existing workbook.
Click on the create a new workbook Icon.
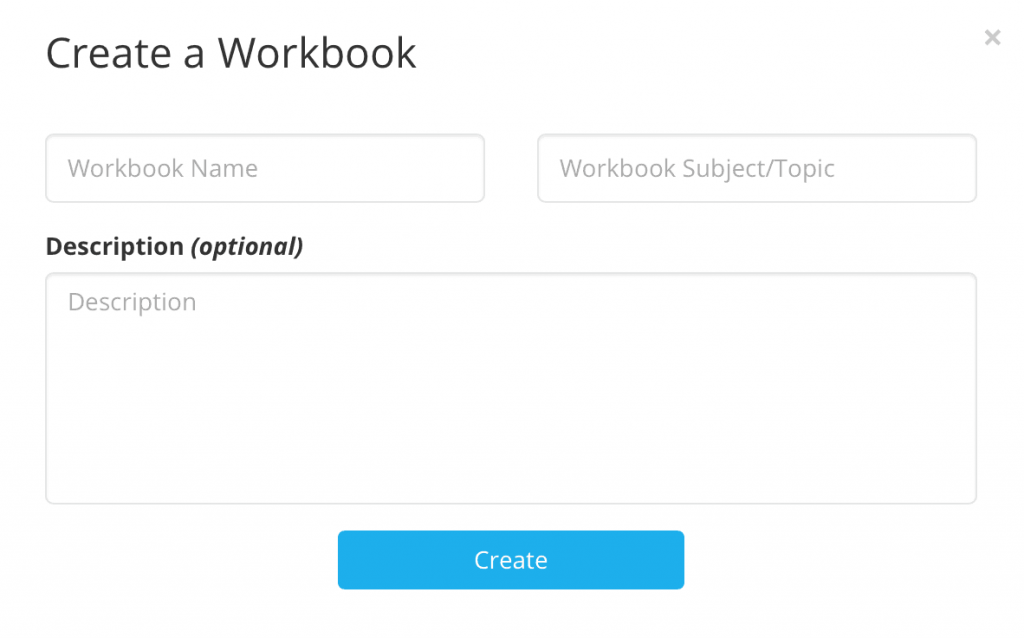
You then need to give your workbook a name, choose a subject and enter a description.
When you click “Create” you will be taken to the main workbook creation page. It is from this screen that you will add the content into your workbook to create slides.
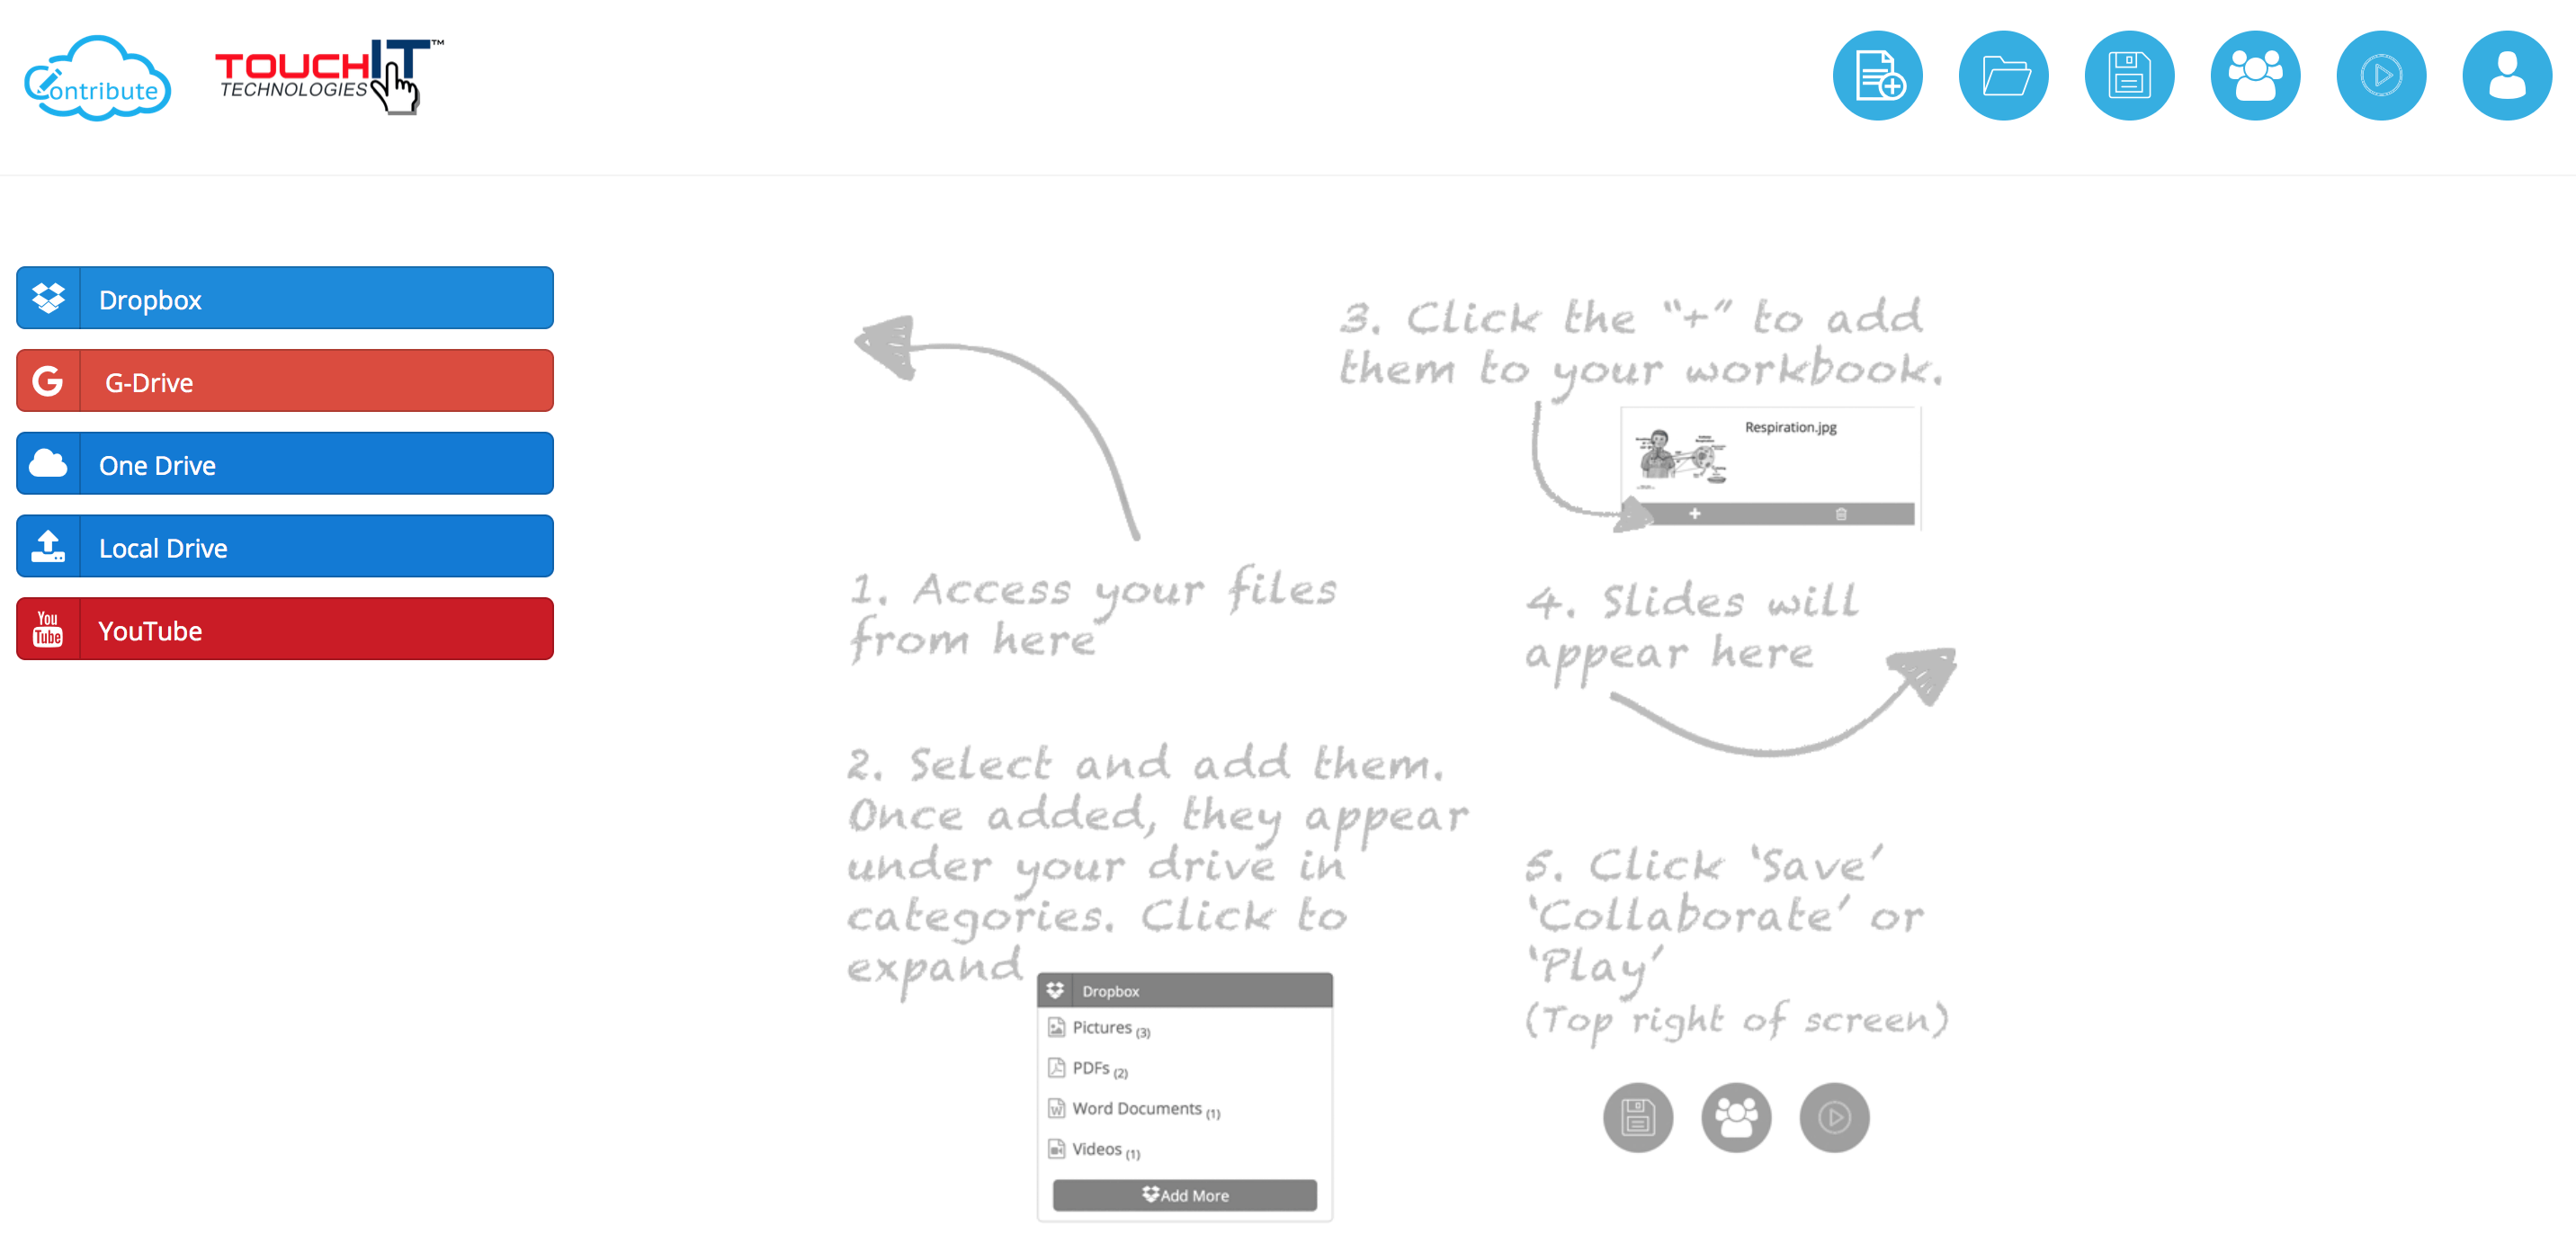
You will see on the left hand side of the page links to Cloud Storage Drives, Your Local Machine as well as YouTube. You don’t need to use all of them, just whichever one is your drive of choice. Click on the drive of Choice. In the example below we will use Dropbox. You will need to authorize Contribute Cloud to access your Drive, then you will see the list if files.
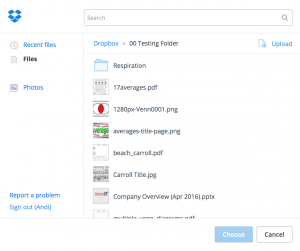
Select the files that you want to include in your workbook and press the “Choose” button when you are done. When you click on the “Dropbox” option on the left hand side of the screen you will see that the files have been organized into categories.
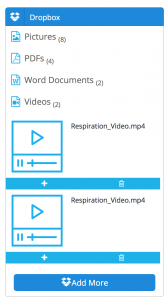
To add the files into your workbook, you click on the “+” icon. You will then see that the slides are formed on the left hand side of the screen. You can also drag and drop the files into the centre of the workbook. To reorder your slides, simply drag the slide into the location you wish.

You can delete any slide by clicking on the “X” in the top left. There is a confirmation of the delete before the slide is removed.
You can also add all the files that you have selected at once by clicking on the “Add all to Workbook” button

When you have finished your workbook, click on the “save” icon in the top right of the page to save your workbook to the Cloud.